In this entry, I wanted to document what is the process of making one of this cameras, starting from the 3D – model to the end product where you turn it on and connects to WiFi ready to take pictures.
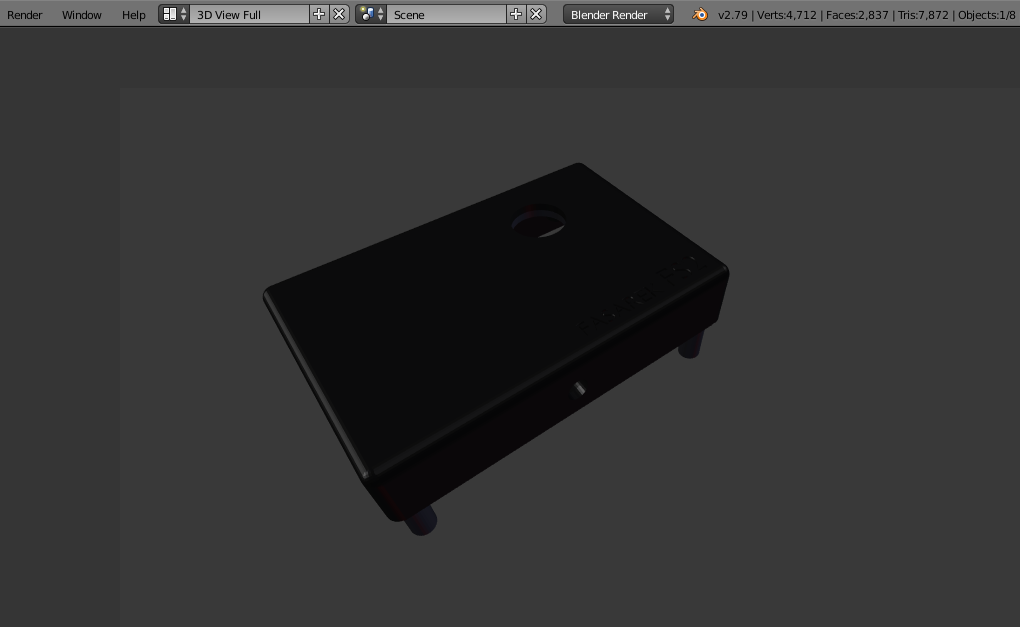
Blender 3D model 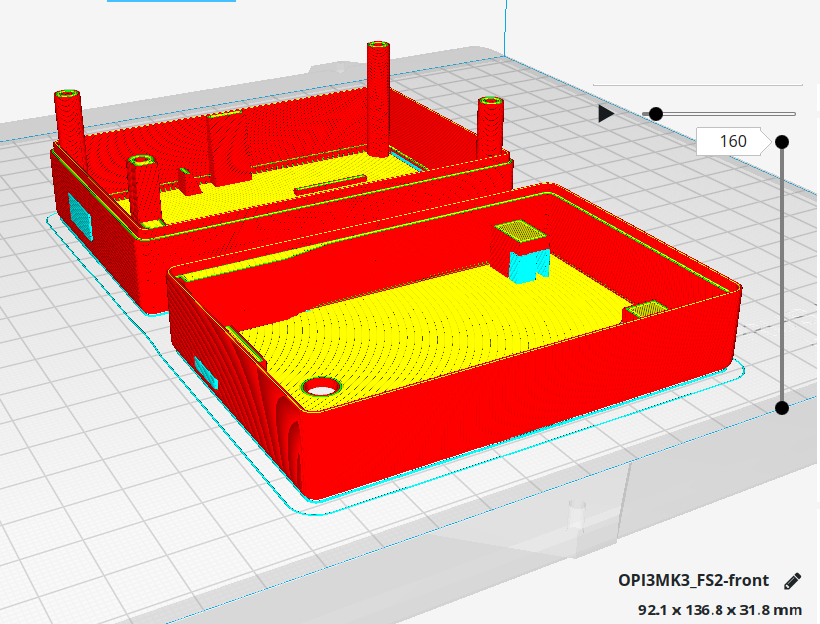
Cura slicer 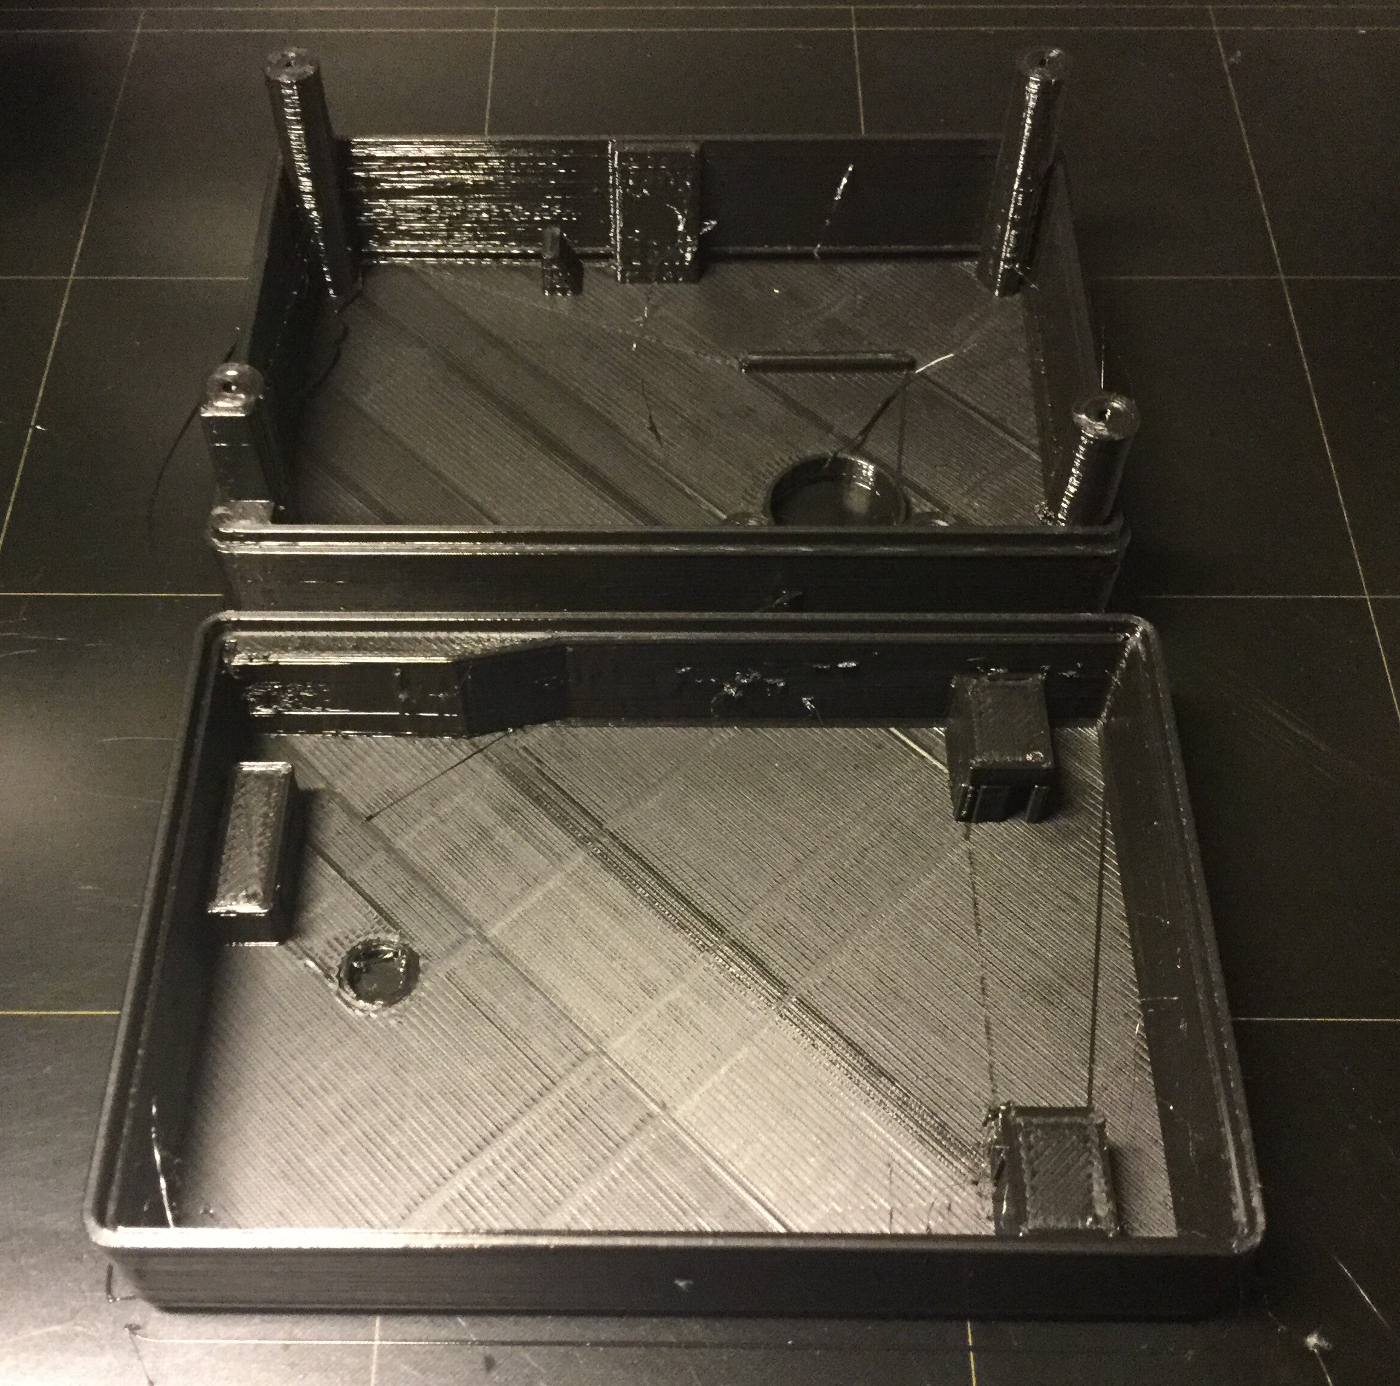
3D post-prod: Clean & remove support 
In total 7 hours of print, 70° heated bed and 230° nozzle for PETG
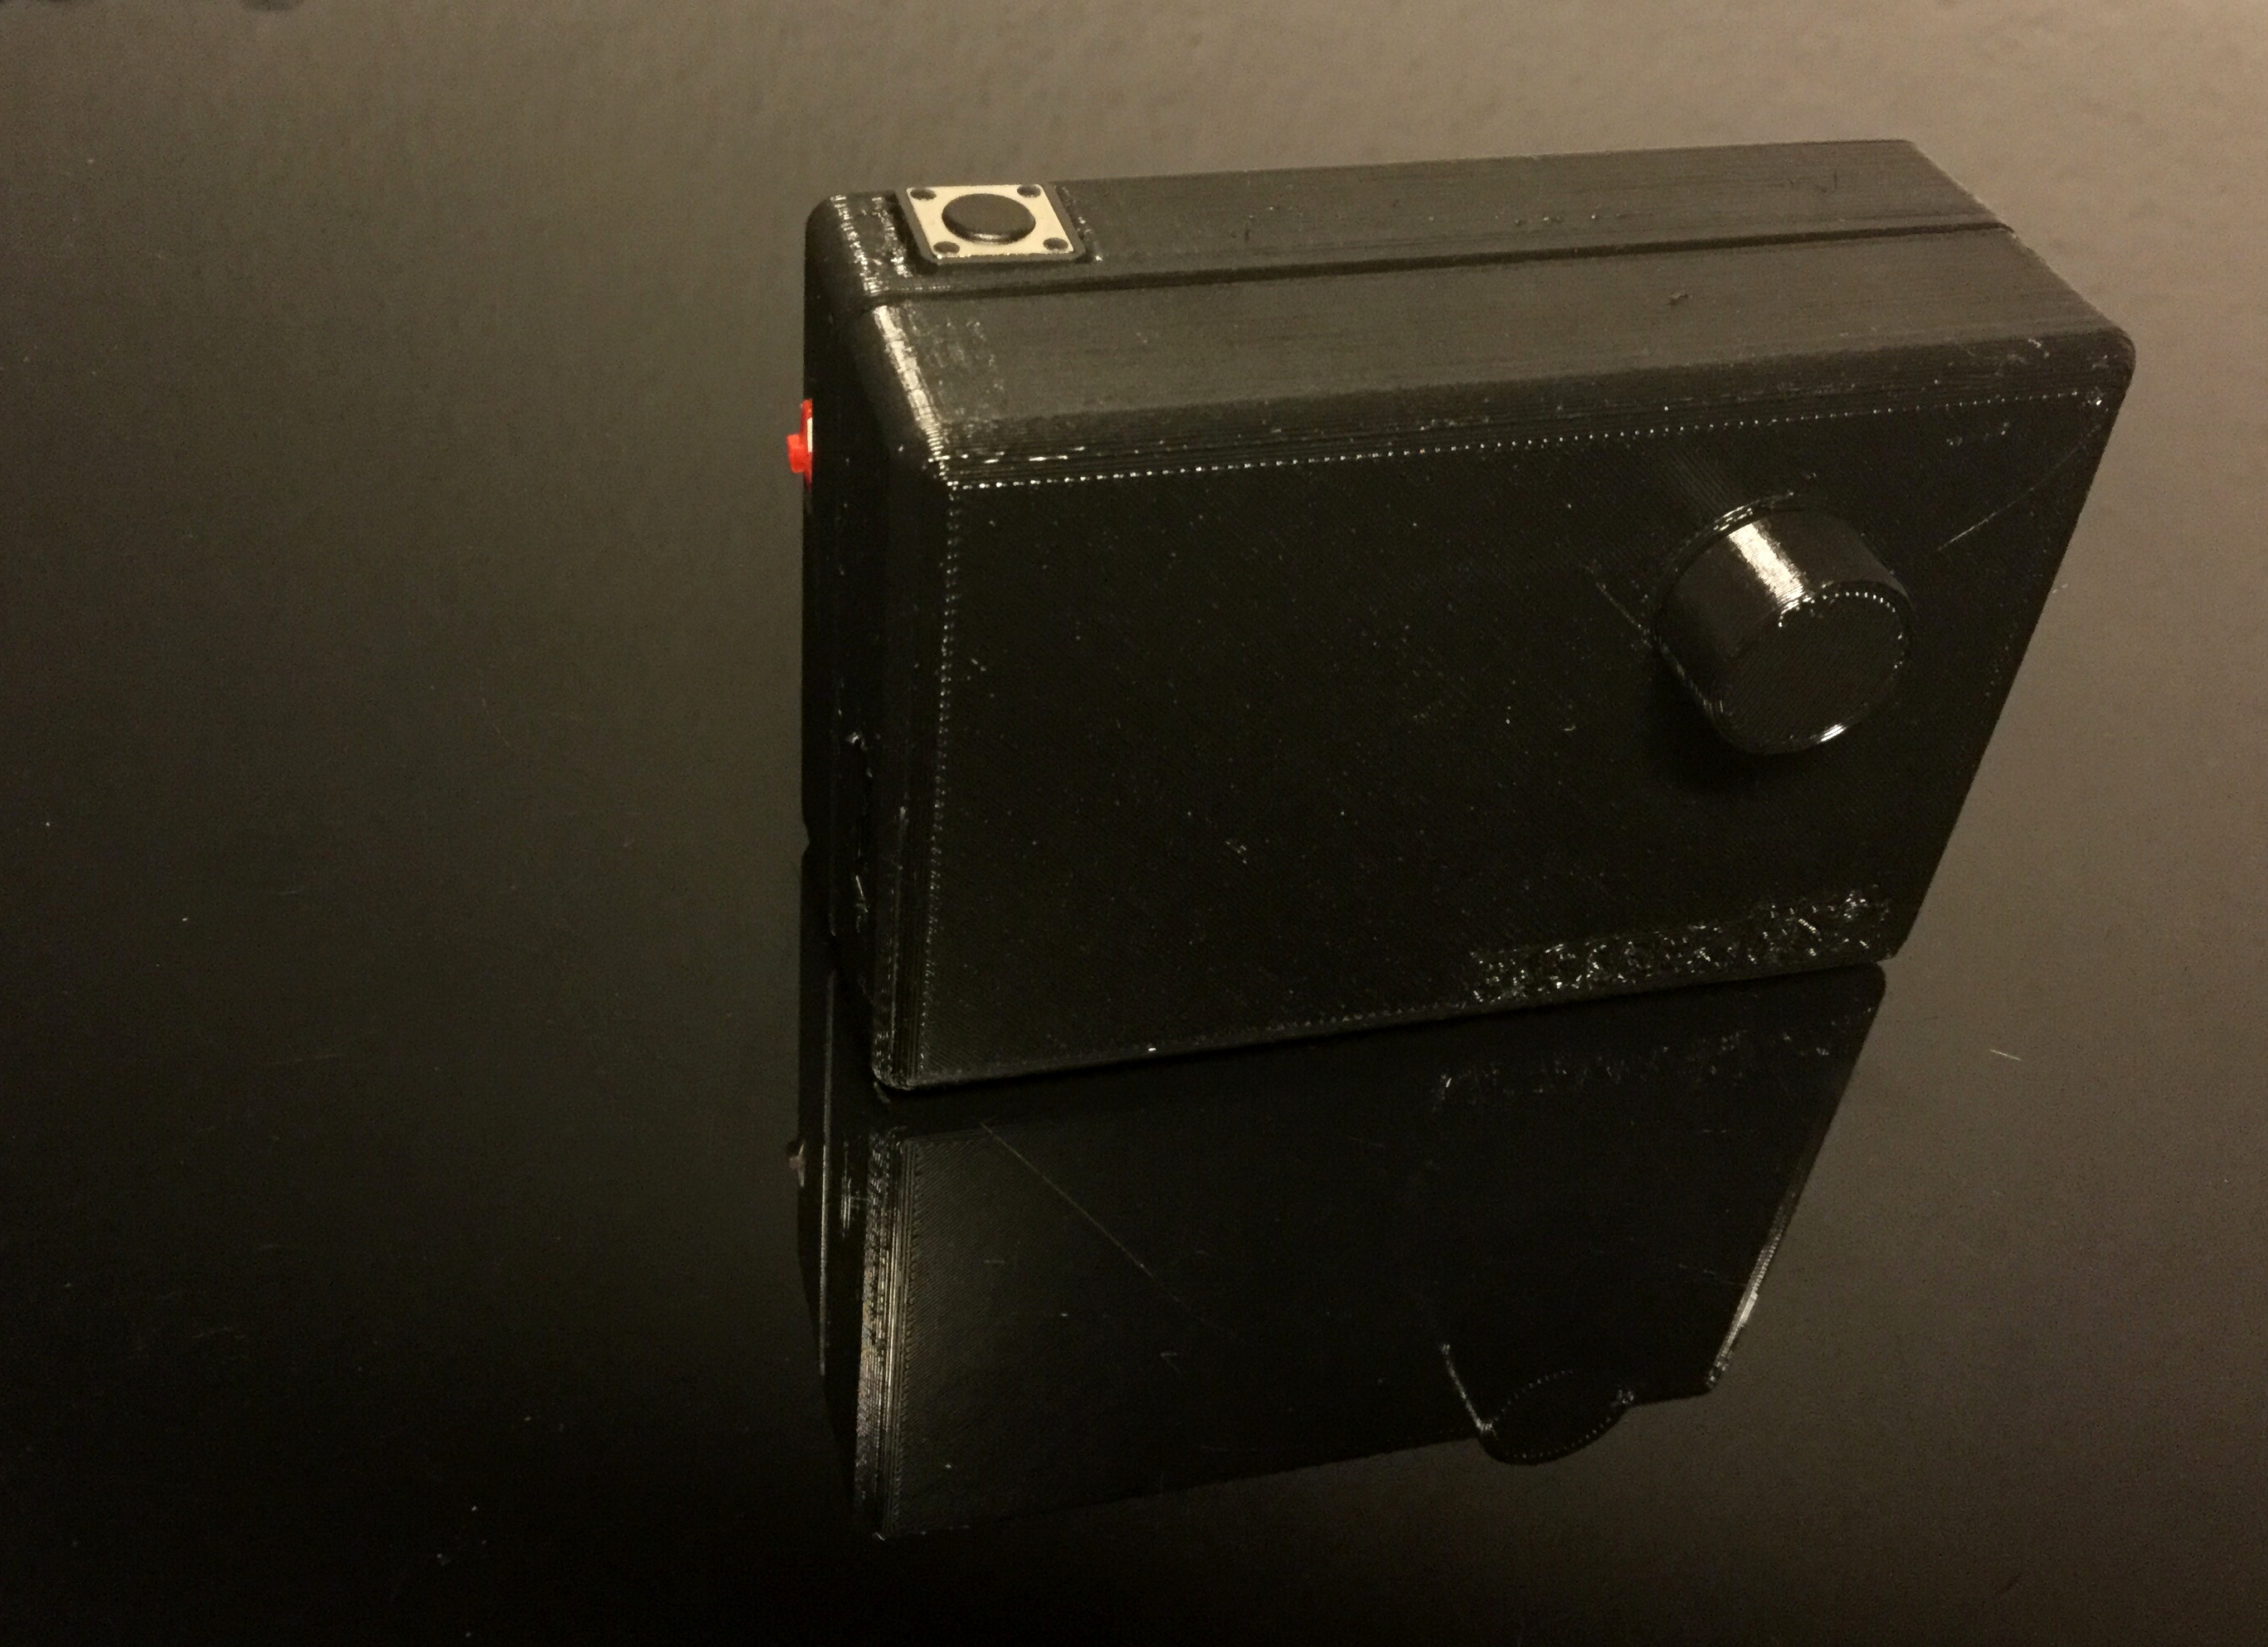
After removing the support and sanding the round columns the first thing is to connect the front and back case together and see that they fit correctly. Usually, they do but PET is a tricky plastic to print and the end termination is a bit rougher than with PLA so it requires some post-production work. As an advantage, this plastic is stronger than PLA, and will stand a crash much better since it’s more elastic and resistant. I would say the best termination and strength balance would be to print this in ABS but I dislike the smokes and the fact that is also very difficult to print at home.
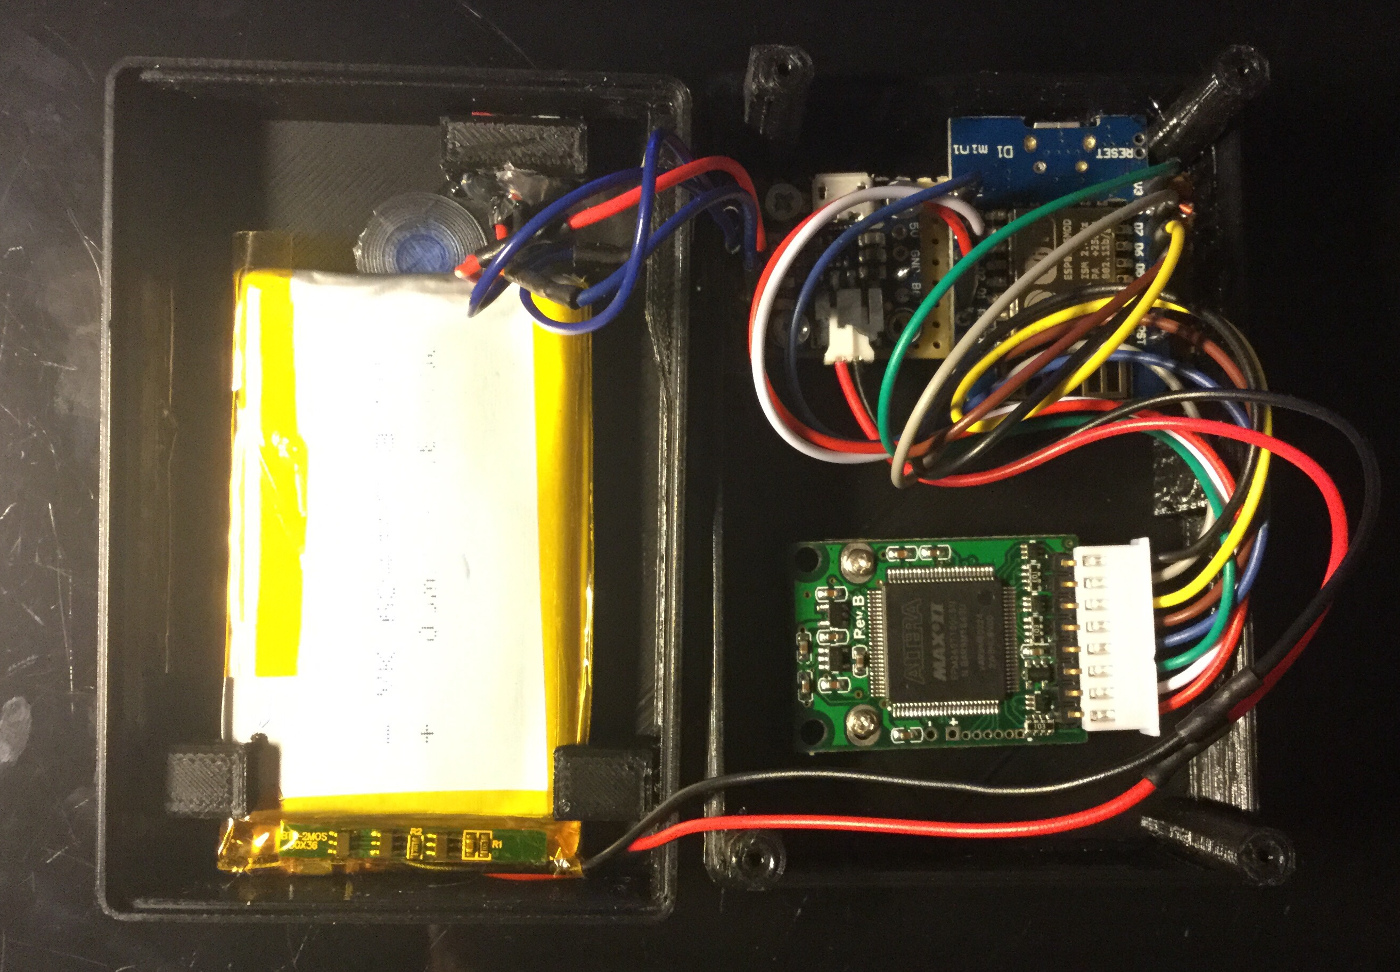
When this step is ready then it’s the time to heat up the soldier and prepare the ON/off switch and the shutter button. Then there are 8 cables more that go from the Arducam (2 or 5 mega version) to the Wemos D1, that is the responsible of uploading the picture to the cloud. This is a prototype for myself so it looks a bit messy but shows how it is at this stage:
Then comes the reality shock moment that is to connect the Wemos ESP8266 through USB to the computer and upload the program that will do the magic of receiving the JPEG image from Arducam and upload it to a php API endpoint. Usually, at this point there is something that needs to be corrected, but either nothing works or all is fine and dandy. I open the mobile hotspot and turn on the camera. See if connects, try to take a picture, preview it on the PHP-gallery. Try to test timelapse mode, see it works, and that’s pretty much it. A new camera is ready to be delivered.