It’s been long that I stopped studying Design. After abandoning my graphic design career 12 years ago to do web development work in Spain, I have goosebumps when I’ve to layout something to the pixel, specially if that’s CSS and Divs :)
But to have half a day of design work is not bad and also is a challenge when you are writing code all day.
So this time I was looking for a new tool, one that is not Dreamweaver since I’m not a Windows user, and one that will do at least 50% of the work. The other fifty has to be done by hand if you want a good result that can be read and customized by another Developer. There is no tool at the moment that can give everything done and if some brilliant mind come with it maybe I still didn’t find it, so please comment this entry if you know one.
In a quick google search I found out that both Gimp and Inkscape can be used with different results. After reading some blog posts I went for Inkscape since I really like the interface and I used to work with Illustrator in my designer days.
So let’s put the example at works. The work request is: We want to make this footer that is going to be placed on this website. So you get an email with the image, if possible try to get in full PNG quality and not on a compressed Jpeg, since you will be cutting the backgrounds out to use in the html.
REQUIREMENTS TO TRY THIS OUT:
- Inkscape installed
- Firefox with Firebug or equivalent in other browser
STEPS
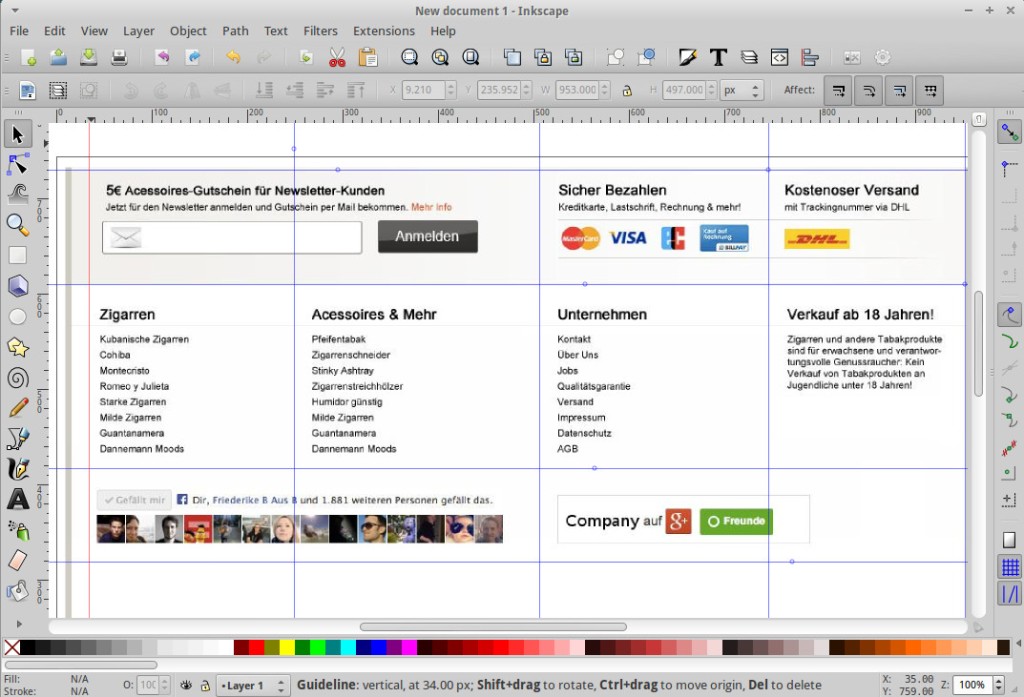
- Embed the image in Inkscape. It is extremely important as a starting point to measure the exact width and starting with a good quality PNG image before going to step 2. Failing to do it, will make our resulting work after hours of cutting not fit, and then we will have to change widths by hand summing some hours more.
A friendly way to do so is to put Inkscape at 100% zoom (lower-right corner) and then just open the webpage in the browser in another window. An alternative way is to open Firebug and select the DIV where our resulting work is going to be placed and making a screenshot to measure the exact width. - Use guides, simply dragging the X/Y Pixel measurements in Inkscape, this will help later to make our Slices fit to the pixel.
- Slice them all, using the top menu Extensions > Web > Create a Slicer rectangle
If you take the additional work of naming each image, you will get both seo and logical order at the same time, so I highly recommend to name each slice if you have the time to do so.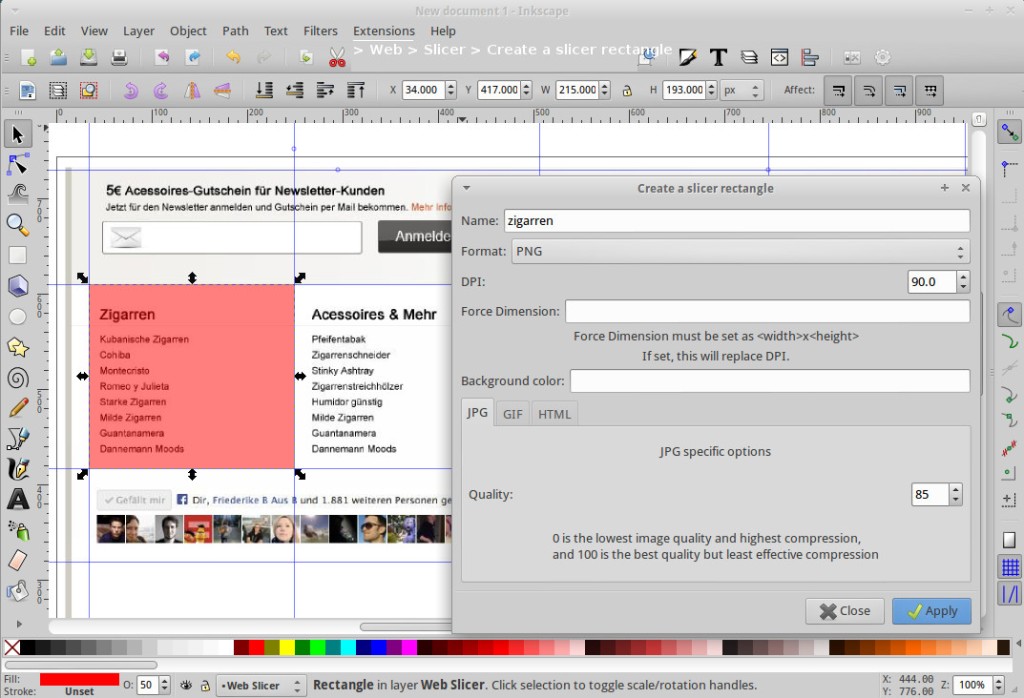
Here the red transparent slicer, that will become a Div+ Css style One good tip when slicing is that you should think that this boxes should float to the left and accommodate each other like this, no line breaks, the outside container div will mark the limit. When the limit is reached, the next box goes down like a line break and floats down to the left again. Sounds easy right ? Well it’s hell :)
- Export the Slices using Menu Extensions > Web > Export layout pieces and Html+Css code
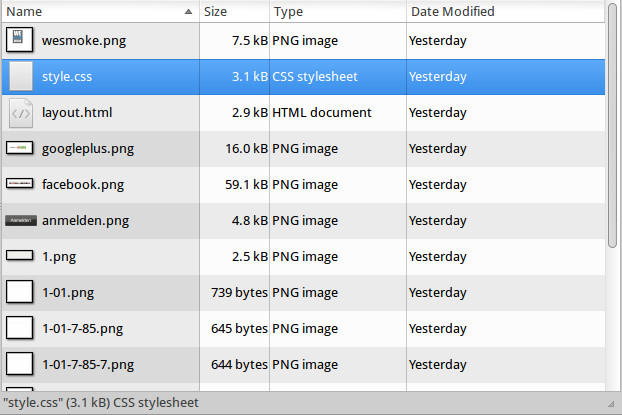
This are the resulting files of exporting - Open the layout.html file in Firefox and your favorite editor in tandem
Now it comes the “Wow” moment. Yes, your background image has been sliced. Yes, it’s html!
Next, open the style.css file, and then you will see that it comes the “Fuck!” moment. All is good, but there is small detail:#element-3 { position: absolute; left: 0px; top: 26px; height: 140px; width: 263px; background: url("1-01-7-6.png") no-repeat; }Oh gosh! The divs are positioned absolute. That means this design as is will be rendered only at the top left corner of the website. So it comes the not so fan part of eliminating or commenting the position, left and top attributes and replacing them by a:
float: left - Work out each Css div and keep that browser refreshing and checking that you are getting it right.
I can be criticized because it’s not a straight forward process. But designing for the web is not and it must be done with iterations if you do a user interface so it can be refactored and optimized in every new take.


RESUME OF THE WORK
- Cut the image in Slices, that will later become your background/work guide, you can remove them at a later point
- Export the resulting HTML / Images and CSS code. This is what I called 50% of the work :)
- Modify it by hand, adapting it to your particular scenario, and do the same with the background images. Remove them from the Css or just edit them in gimp if you want to delete the text and leave some other design elements
- Implement it in the final environment. Probably there are some additional adjusting to be made while you test in different browsers
POST-CRITICISM
My colleague Waldo in Mallorca has criticized this entry, because it’s not a modern way to do it, and with a good professional twist he told me that there are new frameworks like Twitter bootstrap that have a completely different approach.
And he is completely right. My intention was just to give a simple explanation for people who are looking for a tool to make simple web layouts, that can look professional without the need to hire an advanced designer. Now if you are looking for Responsive design and to build stuff that will render on any devices then this falls short. A good base to start working on responsive design is Pure CSS, a new Framework that is created by Yahoo. It uses Normalize.css and doesn’t use any JavaScript but only HTML and CSS.
Related articles:
Creating websites with inkscape , read before writing this article.
PureCSS Check out Pure, a css framework made by Yahoo team, if you are looking for responsive this may be a great choice

2 responses to “Using Inkscape for Web Design (Css & Divs)”
GReat Tutorial! I agree with Waldo, but as you have mentioned, this tutorial is about basic procedures on webdesign althought I think this tutorial is a great effort to develop stuff like email adverts.
Actually, you keep inkscape for the design part but you overlay bootstrap grid.
That way everything is perfect!